 Forefront
Configuring Report Cards for your District
Learn how District Leaders can utilize the report card tool in Forefront.
Before you begin: The report card tool is a Premium feature, and requires District Management access in Forefront. Reach out to your Account Manager to learn more.
Step 1: Confirm the Report Card setting is enabled
Check with your Account Manager to make sure the Report Card setting is turned on for your district.
Step 2: Set Report Card windows in Due Dates
Set your report card windows under Due Dates. Examples include semesters, quarters, and trimesters.
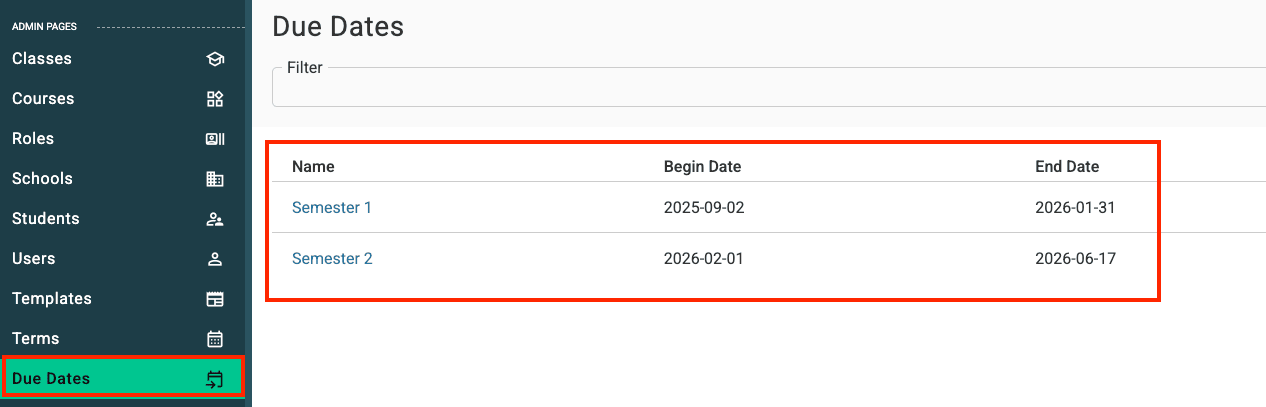
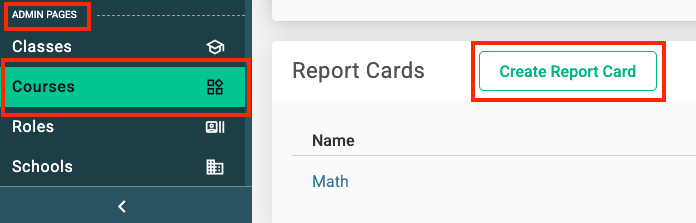
Step 3: Open the course and create a report card
Go to your Admin Pages→ Courses tab and select the course (for example, 1st Grade). Scroll down until you see Report Cards and select Create Report Card.
Tip: To start from an existing report card instead, open the ⋮ menu on its row and select Clone Report Card. The copy keeps the original’s terms, due dates, descriptors, and document fragments, but none of its data, and teachers see it right away. Edit the copy without affecting the original. To show the copy on a report card handout, add its document fragments to the handout. See Report Card Editor for more.
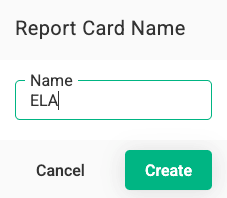
Step 4: Name your report card
Give the report card a name.
Recommendation: Split report cards into subjects to keep the teacher report card view easy to navigate.
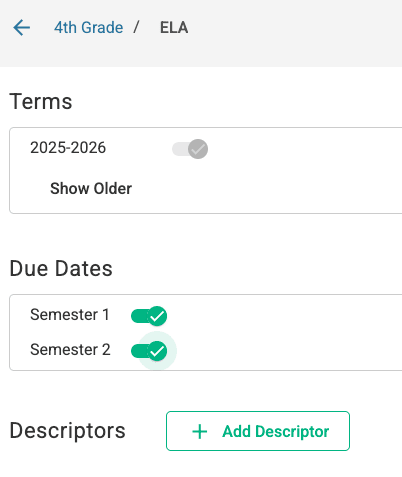
Step 5: Select due dates
Toggle on the relevant due dates for this report card.
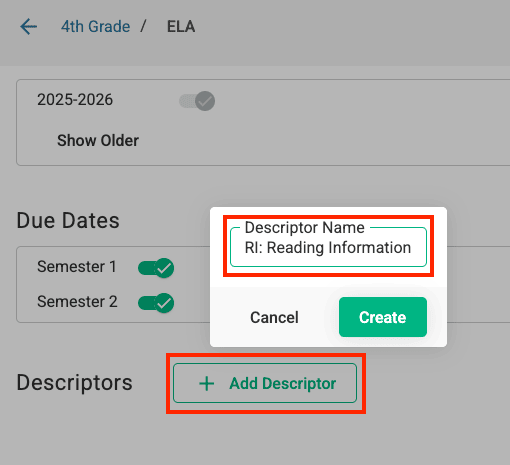
Step 6: Select Report Card Descriptor
Record your Descriptor Name.
Recommendation: Use domains. We strongly advise against adding standard-level descriptors due to the lack of contributing data and the impact on students’ grades.
Step 7: Select standard(s)
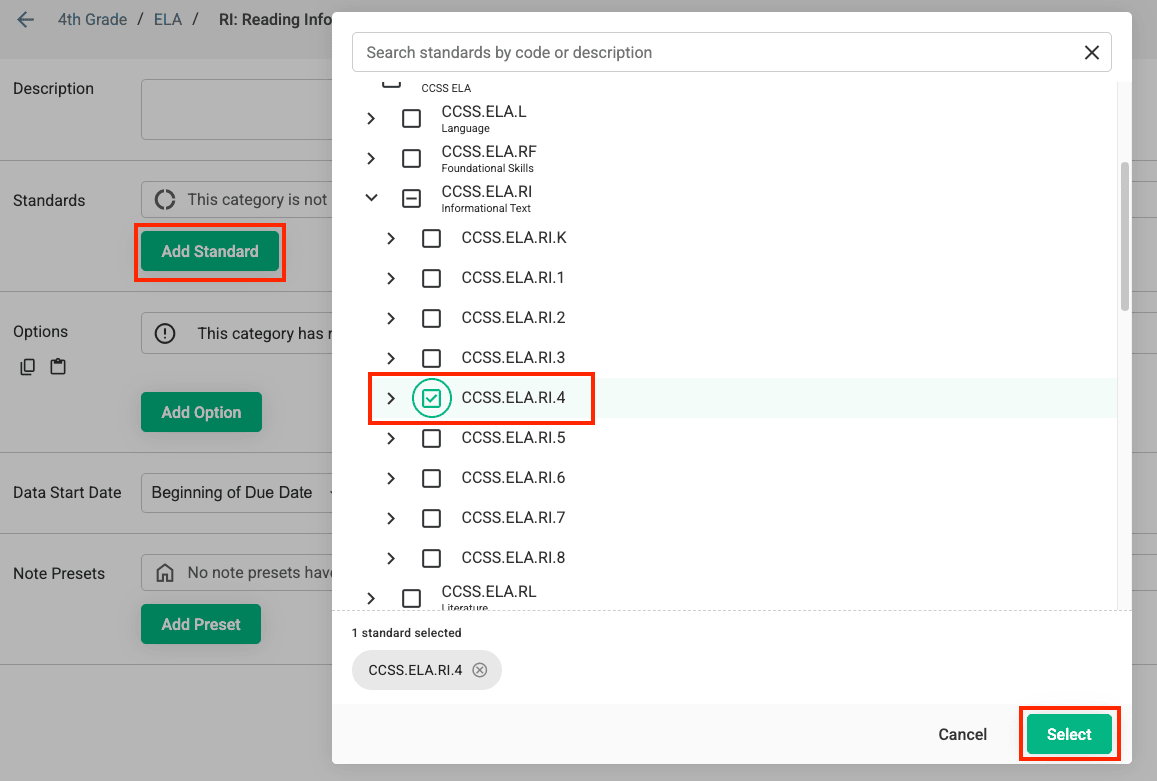
Choose the standard or standards for this descriptor.
Note: Multiple standards can be selected, and an average of those standards is used. You can also use the search bar at the top to find your standards.
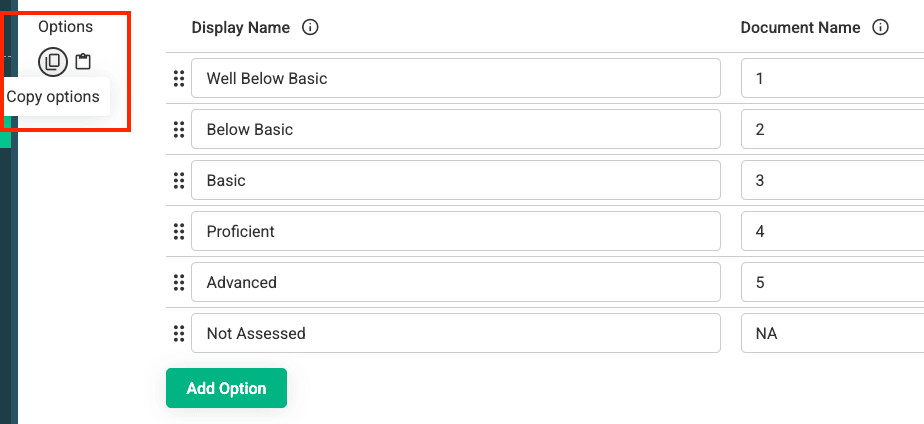
Step 8: Select your proficiency display and document names
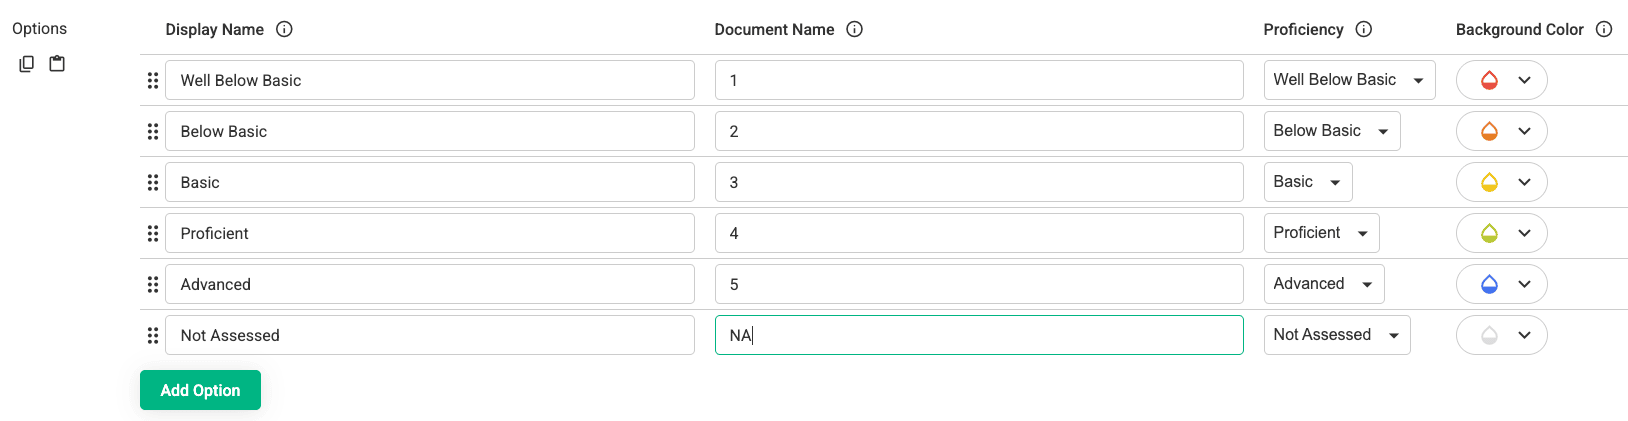
Display Name: how this category displays to teachers in the gradebook.
Document Name: how this category is labeled in the printable documents.
Ensure the matching proficiency is selected. Background colors can be adjusted.
Step 9: Select data start date
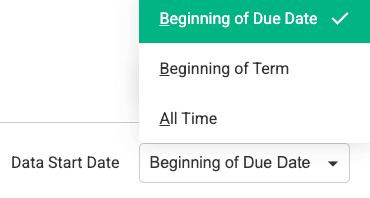
Beginning of Due Date: excludes earlier data from previous marking periods.
Beginning of Term: excludes any data from previous terms (school years).
All Time: pulls all data from Forefront.
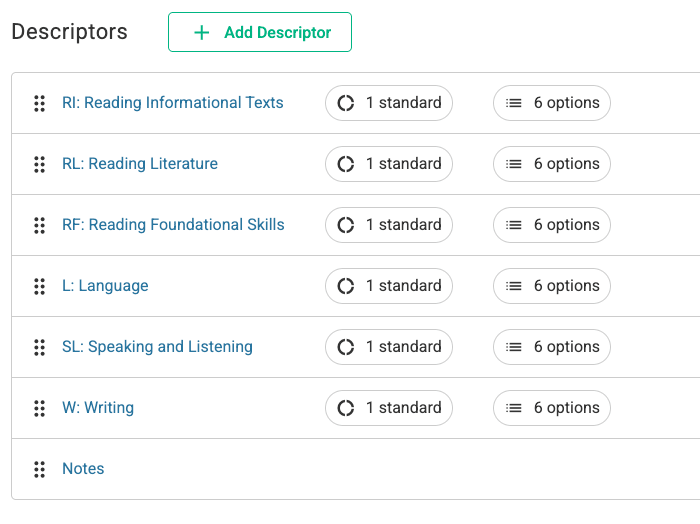
Step 10: Add additional descriptors
Repeat Steps 6 through 9 for each additional descriptor.
Tip: Use the copy option to apply this format to other descriptors.
Adding Notes
To give teachers a place for comments, add a notes descriptor:
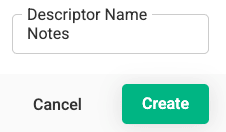
Create a descriptor named Notes or Comments.
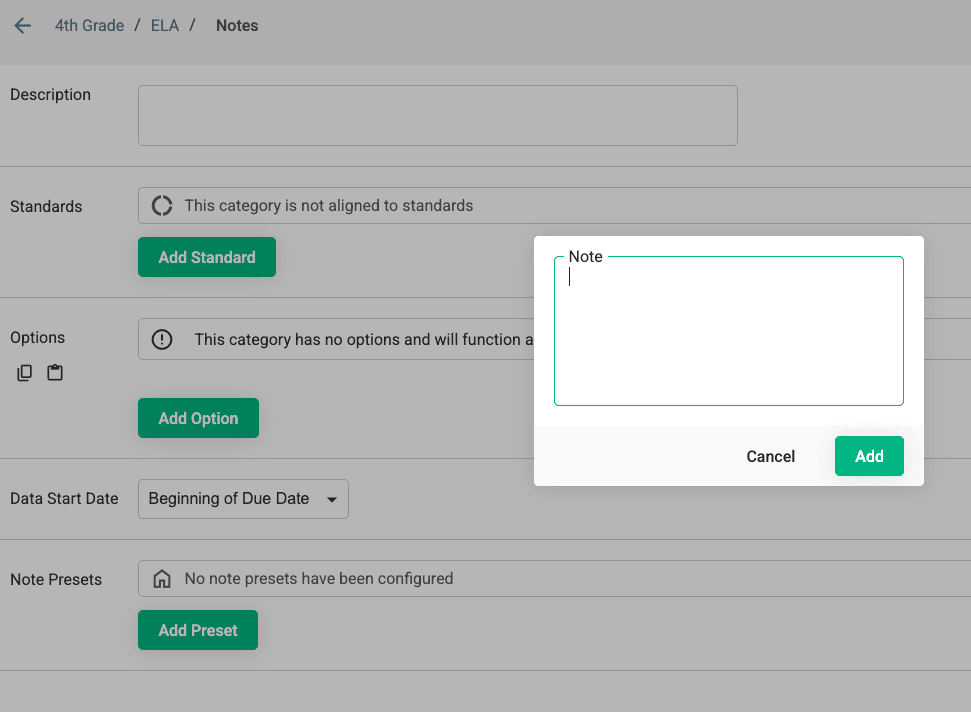
Leave the standards and proficiency options blank.
Use the final section to add Note Presets.
Need more support?
Submit a support request or email our team at support@forefront.education.